
Thursday, December 20, 2012

Monday, December 3, 2012
SCS Weekly CAS Fav
Just found out my November 'Thank You' card was both a weekly favorite and a CAS favorite for the week ending December 2nd which means I earned two badges for my blog... one for each category. I am so honored.
Friday, November 30, 2012
Changes... and a Craft Room

A lot has happened since I last posted on my blog... DH and I purchased a new home (it's really an older home, but new to us). One of the perks was a basement (unfinished). First project we tackled: kitchen & breakfast rooms... we had the floor tiled, granite counter top and travertine back splash installed... new fridge, dishwasher, cook top, oven, and microwave oven... all stainless steel. Looks great!
Second project: a Craft Room for me in the unfinished basement. I am finally able to move around in it and tonight I completed my first card in it. Hope you like it. It is going to a customer who ordered Stampin' Up! products from me on my Stampin' Up! website.
Card recipe (All Stampin' Up Products):
Card Stock: Very Vanilla
Stamp Sets: Blooming With Kindness; Papillon Potpourri
Inks: Raspberry Ripple Stampin' Pad & Stampin' Write Marker'
Punch: Elegant Butterfly
Embossing Folder: Framed Tulips
Wednesday, August 1, 2012
Birthday Journal


Monday, July 30, 2012
On the Edge

I've seen Tim Holtz's 'On the Edge' dies in our local craft stores but had no idea how to use them. I attended Scrapbook Expo in July (Duluth, GA) and saw examples and purchased the 'Butterflies' On the Edge die. I used the die to make this easel card.
Friday, July 27, 2012
Triple Time Stamping
Youtube is wonderful! I love searching for new techniques and I saw this technique demonstrated by frenchiestamps.com and DOstampingwithdawn.com. Frenchie made a couple of cards in different colors and Dawn made hers using neutrals. I wanted to make a 'Shaped Card' (demonstrated by Beate on SCS) so I am using Spellbinder dies to make the first card. The second card is made using measurements listed by Frenchie and Dawn on their Youtube videos.
 I added two butterflies to meet today's 'Free For All - Seeing Double' challenge on SCS
Ink: Elegant Eggplant
Card stock: Elegant Eggplant; Very Vanilla
Stamps: Field Flowers; Element of Style; Teeny Tiny Wishes; Touch of Nature
Ribbon: Very Vanilla
 I cased Frenchie's card but used different stamps. After seeing her card, I will definitely order the stamp set she used.
Ink: Crumb Cake; Early Espresso
Card Stock: Very Vanilla; Early Espresso
Stamps: Field Flowers, Element of Style
Ribbon: Early Espresso
Measurements for the layers both ladies listed on their videos:
Very Vanilla:
2" x 3 1/4"
3" x 4 1/4"
4" x 5 1/4"
Early Espresso Card Stock:
2 1/4" x 3 1/2"
3 1/4" x 4 1/2"
5 1/2" x 8 1/2" (Card Base)

Ink: Elegant Eggplant
Card stock: Elegant Eggplant; Very Vanilla
Stamps: Field Flowers; Element of Style; Teeny Tiny Wishes; Touch of Nature
Ribbon: Very Vanilla

Ink: Crumb Cake; Early Espresso
Card Stock: Very Vanilla; Early Espresso
Stamps: Field Flowers, Element of Style
Ribbon: Early Espresso
Measurements for the layers both ladies listed on their videos:
Very Vanilla:
2" x 3 1/4"
3" x 4 1/4"
4" x 5 1/4"
Early Espresso Card Stock:
2 1/4" x 3 1/2"
3 1/4" x 4 1/2"
5 1/2" x 8 1/2" (Card Base)
Wednesday, July 4, 2012
Bravery


Saturday, June 30, 2012
For Mother

We finally get to celebrate "Mother's Day" with our mother. We were not able to really celebrate with her on Mother's Day in May because she suffered a stroke on the 3rd Sunday in April. The doctors and nurses took excellent care of her while she was in the hospital but she had some paralysis on the right side of her body. She was transported to a health care & rehab facility and they did wonders with her and she was finally able to come home. She still has weakness in her right arm but, with the aid of a walker, she is mobile once again.
Today we are all getting together to celebrate "Mother's Day" with her... her children... grands... great grands... great-great grands... we all plan to be there. She turned 92 back in March and it is such a blessing to be in her presence. This is the card I made for her.
Sunday, June 17, 2012
Happy Father's Day

Sunday, March 25, 2012
FS268: ME

Friday, March 23, 2012
Christmas Joy

Tuesday, March 20, 2012
SCS Color Challenge

Sunday, February 19, 2012
Thoughts of You


Friday, February 10, 2012
'Tis the Season

Sunday, February 5, 2012
Birthday Celebrations

Wednesday, February 1, 2012
Peaceful Snowflakes

Sunday, January 29, 2012
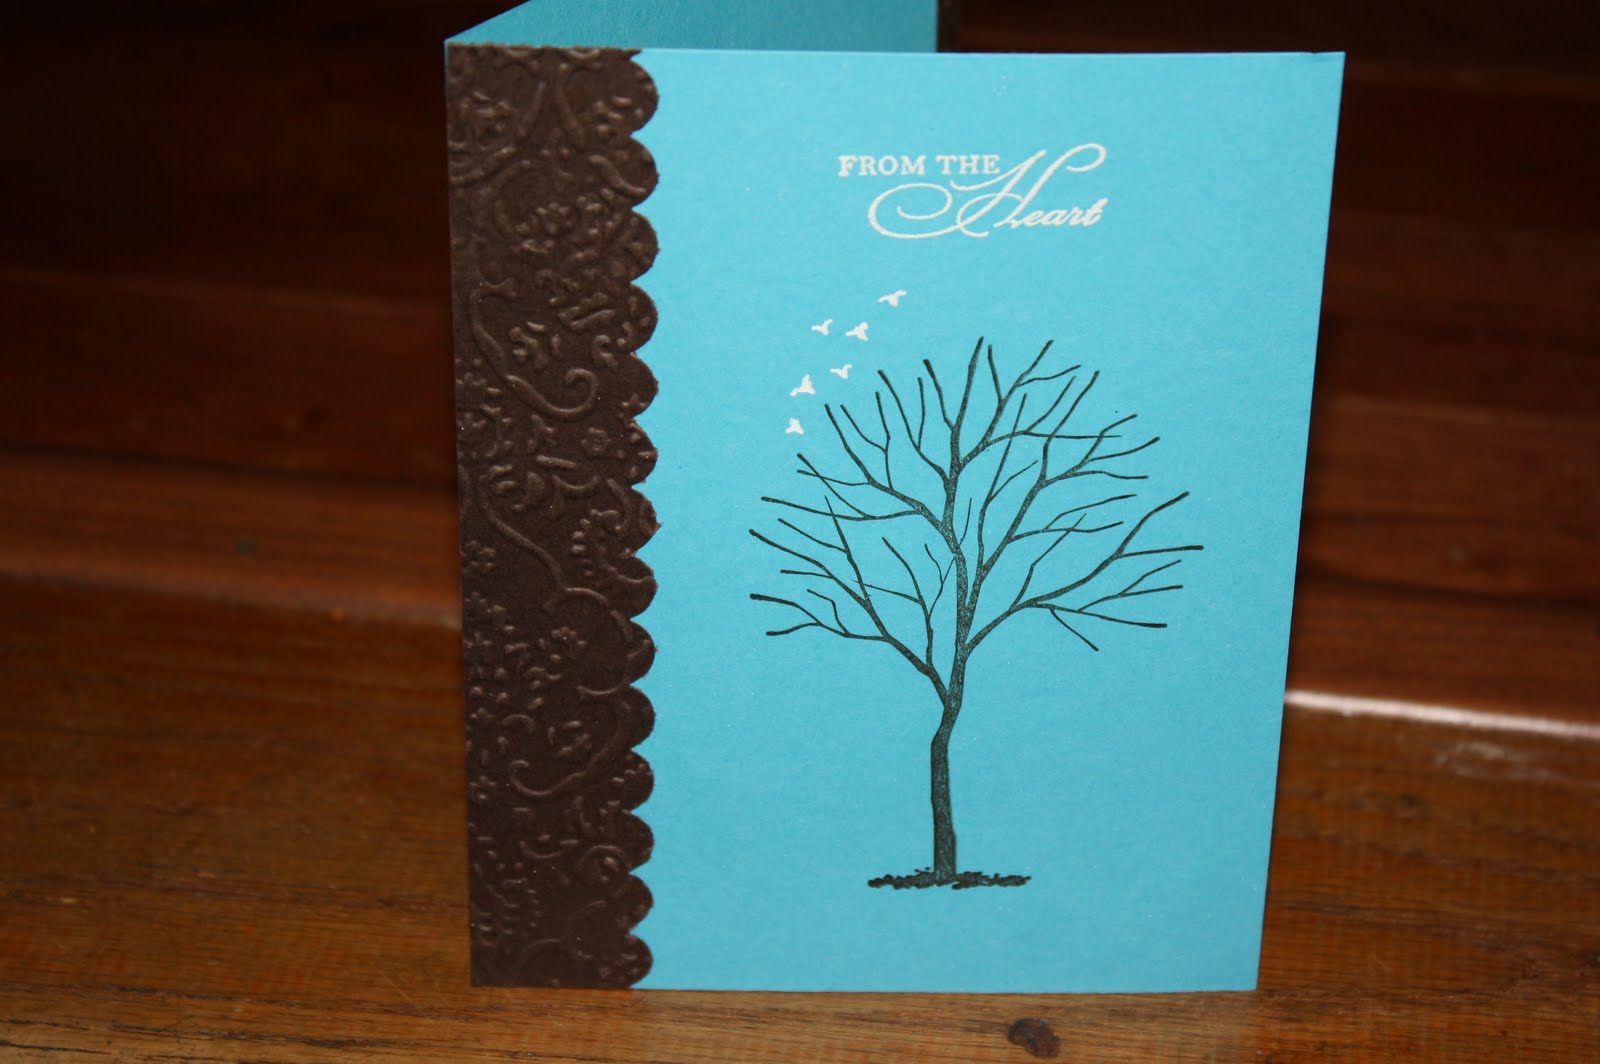
From The Heart
Monday, January 16, 2012
3-D Birthday

Wednesday, January 11, 2012
Butterflies

Saturday, January 7, 2012

Awning Birthday Card

Friday, January 6, 2012
Happy Birthday

Final card in this group and a picture of the three cards together. If I have enough DSP left, I will probably use it to make one last card tomorrow. Again, I used "For Father" stampset; Mocha Morning DSP; Very Vanilla & Soft Suede Card Stock; Soft Suede & Crumb Cake Inks.

Thursday, January 5, 2012
Happy Birthday

Another card tomorrow.
Wednesday, January 4, 2012
Birthday Wishes

DH's brother's birthday is next week and he asked me if I would make him a card. Thing is, he has three brothers and I did not want to make one without making a card for the other two. Masculine cards are hard to design so I visited Mary Fish's gallery and got inspired by her 'Thrilla in Vanilla' card and decided to case it. I changed the sentiment, the stamp, added DSP and matted my image panel.
After making this card, I used the same image stamp, card stock, ink and DSP for the other two cards and changed the card sketch for both. Here is the first card. I will post cards two and three within the next few days.
Mocha Morning DSP; Very Vanilla & Soft Suede Card Stock; Soft Suede, Crumb Cake & Basic Black Ink; For Father & Happiest Birthday Wishes Stamp Set (Hostess).
Monday, December 26, 2011
Congratulations


Tuesday, December 6, 2011
Santa Christmas

Friday, December 2, 2011
Something Old... Something New...

More views:


Holiday Sweets
 |
| Coconut Pound Cake |
Here is the recipe if you are interested in baking one:
Coconut Pound Cake
- 2 cups sugar
- 1 cup butter
- 5 eggs
- 2 cups all-purpose flour
- 1 1/2 teaspoons baking powder
- 1/2 cup milk
- 1 1/3 cup flaked cocunut
- 1 teaspoon coconut extract
- 1 cup sugar
- 1/4 cup water
- 1 teaspoon coconut extract
- 1/2 cup chopped walnuts
- Preheat oven to 350F. Grease and flour a 10-inch tube pan (I used my Pampered Chef fluted cake pan. Check out yesterday's post for stoneware seasoning if you need to season yours).
- In a large bowl, cream together 2 cups sugar and the butter. Fold in the eggs one at a time, fully incorporating each one before adding another.
- In a separate bowl, mix the flour, baking powder, milk, flaked cocunut, and 1 teaspoon coconut extract. Beat into the creamed mixture. Pour the batter into the prepared pan.
- Bake 1 hour, then cool on a wire rack for just a few minutes, then place on cake platter.
Glaze: Mix together 1 cup sugar, water, 1 teaspoon coconut extract and walnuts. Boil for 1 minute, then pour over warm cake.
Thursday, December 1, 2011
Seasoning Pampered Chef Stoneware
I own a Pampered Chef 'fluted' cake pan and it has gone unused for more than 8 years. I really wanted to use it but I knew that I really needed to season it well so that my cake would easily come out of the pan. I googled it and found a great 'seasoning recipe' for this cookware and it really works. I was able to season my cookware one night and bake in it the very next. Check my blog tomorrow for the recipe.
- Clean and dry your stoneware.
- Mix together 2 parts Crisco and 1 part salt
- Generously apply to total surface.
- Place in a 250F oven and bake for 30 minutes
- Let cool and smear the melted mixture over the stoneware surface again
- Return to oven and bake another 30 minutes.
- Let cool; smear the melted mixture over the stoneware surface again, to oven and let sit in oven overnight.
- Next day, wash stoneware with dish brush under hot running water. Dry and your stoneware is seasoned and ready to use.
Tuesday, November 8, 2011
Holiday Tweets

I made this with the Stampin' Up! Petal Cone die. The challenge was to make a card or project without the use of stamps. This project doubles as a holiday decoration as well as a treat holder.
Card Stock: Always Artichoke, Bravo Burgundy, and More Mustard.
Accessories: Spellbinder star dies, SU Petal Cone Die, SU Bird Punch, Martha Stewart punch.
Tuesday, October 25, 2011
Baby Shower Favors
 |
| Baby Shower Favors |
 |
| Baby Shower Favors |
 |
| Diaper Cake |
Saturday was the day of my daughter's baby shower and we had a great
time. I finally finished the favors that I was working on but did not
make all that I had planned. Making favors for a baby shower is a
really big task. The colors I used were Bermuda Bay, Pretty In Pink,
Old Olive, and Daffodil Yellow (all Stampin' Up!). I even tried my hand
at a Diaper Cake. I could not find my ribbon (lost in the jungle of
scrap paper from all the crafting) so I purchased tissue paper to cover
the rubber bands.
Monday, October 10, 2011
Baby Shower Invitations

Wednesday, October 5, 2011
Stampin' Up! Links
My Stampin' Up! Website: stegsinfo.stampinup.net
2011 Idea Book and Catalog:
http://204.228.150.61/catalogs/flash/en-US/20110601_lkjds_ibc/index.html
2011 Holiday Mini Catalog
http://204.228.150.61/catalogs/flash/en-US/2011_ldse3_holidaymini/index.html
Friday, September 23, 2011
Christmas Goodie Bag

Friday, September 16, 2011
Happy Birthday

Our daughter's birthday card I made for her. Hope she likes it.


Inside view.
Card Stock & Ink: Very Vanilla; Elegant Eggplant
Thursday, September 8, 2011
Shower Favor

Monday, September 5, 2011
So Busy
I can't believe it's September already. I am trying to get back into my creative mode because it has been a while since I've made a card or project. I am currently working on my daughter's baby shower and hopefully I will be able to upload pictures of favors I am working on for the shower in a few days. Check back later in the week.
Wednesday, August 17, 2011
Super Excited
DH and I spent Sunday afternoon with our daughter and SIL. They are expecting their first (and our first grand) in December and I am super excited... It's a Girl! The thrill of feeling the movement of my little Princess as I placed my hand on my daughter's belly was awesome!!! How can anyone not believe that life begins at conception?
We went to Babies 'R Us and found quite a few bargains. I purchased a cute little summer outfit that had been reduced from $35 to $5, sized 6-9 months. I know she will not be able to wear it this year since she will not make her entrance into the world until December. It is a summer outfit and she will be about the right size Summer 2012. Now to purchase some 'baby' stamps and start making baby shower invitations and 'thank you' notes for my daughter. Scrapbook pages will soon become a part of my blog. Stay tuned...
We went to Babies 'R Us and found quite a few bargains. I purchased a cute little summer outfit that had been reduced from $35 to $5, sized 6-9 months. I know she will not be able to wear it this year since she will not make her entrance into the world until December. It is a summer outfit and she will be about the right size Summer 2012. Now to purchase some 'baby' stamps and start making baby shower invitations and 'thank you' notes for my daughter. Scrapbook pages will soon become a part of my blog. Stay tuned...
Sunday, August 7, 2011
CCC11 May


Saturday, August 6, 2011
Stampin' Up! Catalog
Link to the new Stampin' Up! 2011-2012 Idea Book and Catalog and the 2011 Holiday Mini. If the links do not take you to the catalogs, copy and paste into your browser.
IB&C 2011-2012 Catalog:
http://204.228.150.61/catalogs/flash/en-US/20110601_lkjds_ibc/index.html
2011 Holiday Mini Catalog
http://204.228.150.61/catalogs/flash/en-US/2011_ldse3_holidaymini/index.html
IB&C 2011-2012 Catalog:
http://204.228.150.61/catalogs/flash/en-US/20110601_lkjds_ibc/index.html
2011 Holiday Mini Catalog
http://204.228.150.61/catalogs/flash/en-US/2011_ldse3_holidaymini/index.html
Tuesday, August 2, 2011
Because I Care

CC334 SCS Color Challenge
Cardstock: Basic Gray & Whisper White
Ink: Tempting Turquoise, Basic Gray
Subscribe to:
Posts (Atom)